
How to Program a Garage Door Opener in Virginia, VA — Start With the Learn Button Color
Programming a garage door opener in Virginia typically takes 2–5 minutes once you know which procedure your unit requires. The fastest way to identify the correct steps is to check the color of the Learn button on your opener’s motor housing — yellow, green, purple, orange, or red — which determines the radio frequency and pairing sequence. If you’d rather have Edward Campbell walk you through it over the phone, call (844) 643-0954 — he’s done this for hundreds of Virginia homeowners and can usually diagnose your setup in under a minute.
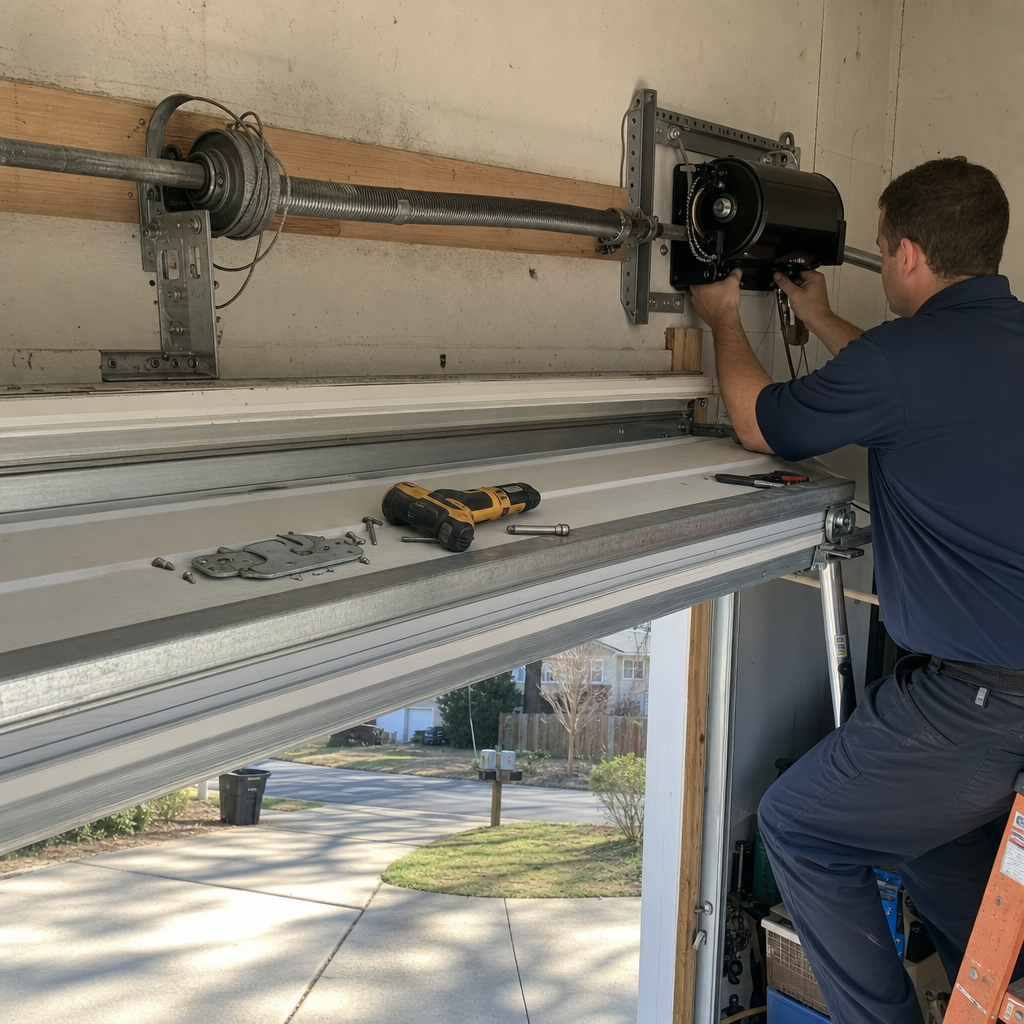
Last Tuesday we got a call from a homeowner in Fairfax County who’d spent forty minutes cycling through YouTube tutorials for three different opener brands, none of which matched the actual receiver in his ceiling. The problem wasn’t the tutorials — it was that nobody had told him to look at the button color first. That’s the gap we’re filling here.
The 30-Second Identification Step Every Guide Skips
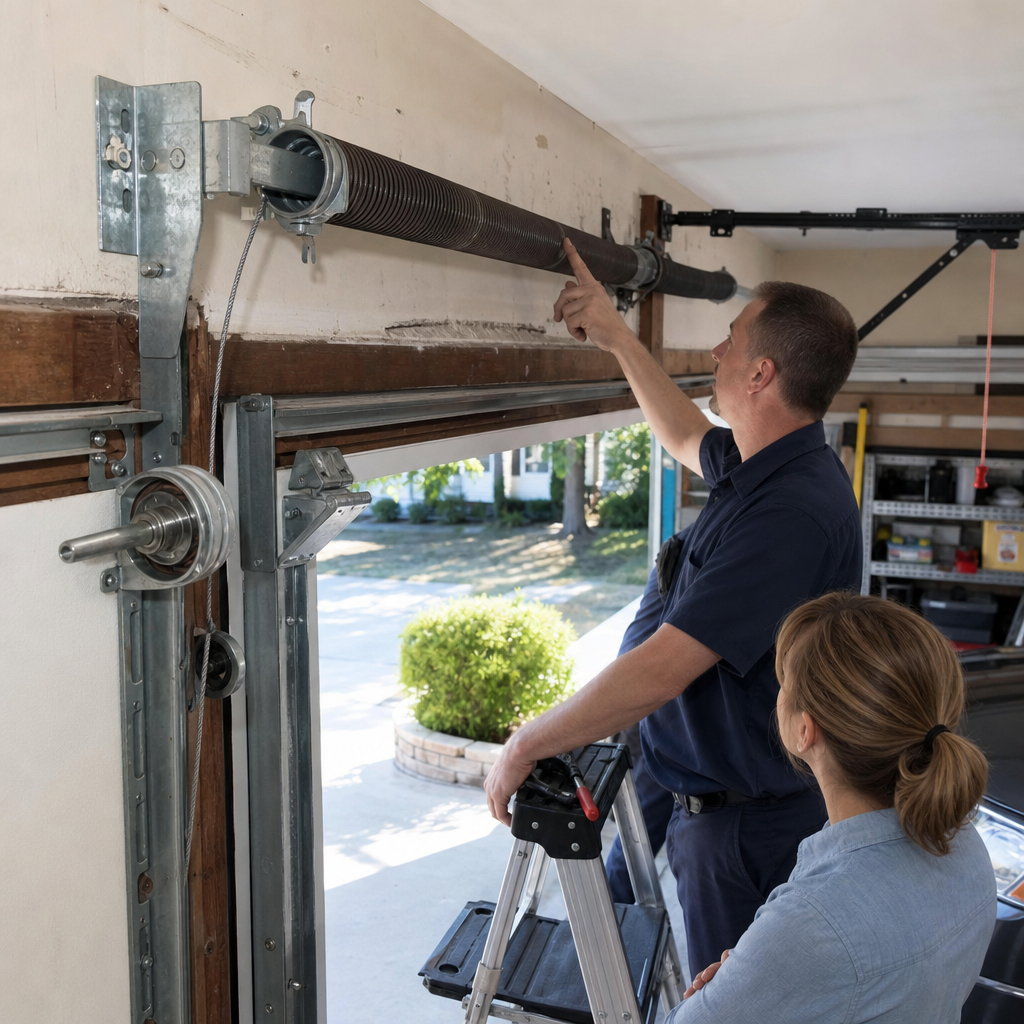
Before you press anything, climb your stepladder and locate the motor unit hanging from your garage ceiling. Near the hanging antenna wire, you’ll find a small square or circular button — that’s your Learn button. Its color tells you everything:
- Yellow Learn button — Security+ 2.0, 310/315/390 MHz tri-band. Used on LiftMaster and Chamberlain openers manufactured from 2011 onward. This is what you’ll find in most Virginia homes built after 2013, especially in newer developments like One Loudoun and the Mosaic District.
- Green or Purple Learn button — Security+ 315 MHz. Common on mid-2000s units, still running in plenty of Arlington and Alexandria colonials where the opener was replaced once in the last fifteen years.
- Orange or Red Learn button — Billion Code or older 390 MHz. Typically pre-2005, more common in Vienna and McLean homes with original construction-era openers.
- No Learn button at all — You’ve got dip switches or an even older system. We’ll cover that below under Craftsman legacy units.
The color matters because each frequency uses a different pairing handshake. A yellow-button procedure pressed on a purple-button opener won’t damage anything — it’ll just waste your evening and leave you wondering if the remote is broken.
Programming by Brand: What Actually Works in Virginia Homes
LiftMaster, Chamberlain, and Craftsman (Post-2011 with Learn Button)
These three brands share the same parent company and identical programming logic, which is why we group them together on service calls. Here’s the sequence that works:
- Press and release the Learn button — don’t hold it down. The LED beside it will glow steadily for 30 seconds.
- Within that 30-second window, press and hold the button on your remote that you want to program.
- Release the remote button when the opener lights flash or you hear two clicks.
- Test immediately. If the door doesn’t respond, the window expired before you completed step 2 — start over.
That 30-second window is where most programming attempts fail. We’ve had customers in Falls Church and Reston tell us their opener “must be broken” when really they walked down the ladder, found the remote, walked back, and pressed the button at second 32. The receiver had already reset. It’s unforgiving — but it’s not broken.
For myQ-connected openers (the WiFi-enabled models increasingly common in Virginia’s new construction), there’s an additional layer: the remote pairs to the opener, but the myQ app pairs to your home network. If you’ve changed your router or WiFi password, the remote may still work while the app shows “offline.” That’s a network reconnection, not a programming issue — and it’s often faster to call us than to troubleshoot router settings at 10 p.m.
Genie Intellicode Remotes
Genie uses a different logic that confuses a lot of homeowners because the remote itself has programming buttons, not just the opener. Here’s what actually works:
- On the opener powerhead, press and release the Learn Code button. The red LED will blink twice per second.
- On your remote, press and hold the program button until the LED on the remote turns red.
- Press the remote button you want to use — the opener LED should stop blinking and go solid, then off.
- Test. If the opener LED blinks rapidly and stops, the code wasn’t accepted — repeat from step 1.
The Intellicode system rolls its code with every use for security, which is genuinely good engineering. But it also means that if you have two Genie remotes and one gets out of sync (battery dies, buttons pressed in pocket), you can’t just clone the working one — each needs its own fresh pairing cycle. We’ve replaced Genie openers in older Springfield and Burke homes where the original remotes were discontinued, and sourcing compatible Intellicode remotes is something we handle regularly through our Garage Door Opener in Virginia service.
Craftsman 139.x Series — Dip-Switch Legacy Units (Pre-2011)
If your Craftsman opener has no Learn button but instead a row of tiny switches behind a panel on both the opener and remote, you’re working with a fixed-code system. These are still running in plenty of Virginia rambler-style homes from the 1980s and 90s, especially in Annandale and West Springfield where the original openers outlasted expectations.
Programming here isn’t button-pressing — it’s physical matching:
- Open the remote battery compartment and the opener’s light lens or side panel to expose both switch sets.
- Ensure both sets of switches match position-for-position (up/down or +/-).
- Close everything and test.
No flashing LEDs, no timing windows — but also no security. These fixed codes can be captured by cheap scanners, which is why we recommend upgrading when these units finally fail. A new opener installation runs $250–$550 depending on horsepower and smart features, and the security improvement alone is worth it for most families.
HomeLink Vehicle Programming — The Step Car Manuals Omit
Most Virginia homeowners with a garage also have a vehicle with built-in HomeLink buttons. The initial programming seems straightforward: press Learn on the opener, then press the HomeLink button in your car. But here’s what the manual doesn’t emphasize clearly enough — the two-step training for rolling-code openers.
If your opener was made after 1995 (virtually all of them in Virginia), it’s almost certainly a rolling-code system. After the initial Learn button pairing, you must do this:
- Within 20 seconds of the first pairing, return to your opener and press the Learn button again — same press-and-release, not a hold.
- Immediately return to your vehicle and press the programmed HomeLink button a second time.
- The opener should click or flash, confirming the rolling code has been synchronized.
Skip that second step and your HomeLink will work once, maybe twice, then fail permanently because the code sequences fell out of sync. We’ve had customers in Tysons Corner and Oakton swear their “car is broken” when really they just needed that second handshake. It’s a 30-second fix once you know it exists.
Programming a Second Vehicle Without Erasing the First
This is the question that generates the most confused calls to our shop. You’ve got your spouse’s car programmed, you want to add yours, and you’re terrified that pressing Learn again will wipe the first vehicle.
Here’s the good news: pressing and releasing the Learn button does not erase existing remotes. It only enters “add mode” for 30 seconds. The erase function requires a deliberate hold — typically 6 seconds until the LED goes out — and then you’re starting from zero.
So for vehicle number two, three, or four:
- Press and release Learn (don’t hold).
- Press the HomeLink button in the new vehicle within 30 seconds.
- Complete the rolling-code second step if applicable.
- Test both vehicles. They’ll both work.
The only caveat: most openers have a memory limit of 5–8 devices total, including remotes, keypads, and vehicles. If you’ve hit the limit, the oldest pairing drops off automatically. If your keypad suddenly “stops working” after you added a new car, that’s probably what happened — and we can clear and rebuild your device list in about ten minutes on a service call.
When Programming Is DIY — and When It Isn’t
We’re straightforward about this because Edward Campbell’s approach has always been to tell people what they can handle themselves and what genuinely needs a technician. Here’s the honest boundary:
| Situation | DIY or Call? | Typical Cost If We Handle It |
|---|---|---|
| Pairing a new remote to working opener | DIY — use the color guide above | Remote cost only ($25–$60) |
| HomeLink initial programming | DIY — follow the two-step above | No charge if we talk you through it |
| Adding second/third vehicle | DIY — won’t erase existing pairings | No charge |
| Opener unresponsive after power surge/lightning | Call — likely logic board damage | Opener Repair: $120–$320 |
| myQ offline after router/network change | Call if router troubleshooting fails | Opener Repair: $120–$320 |
| All remotes stopped working simultaneously | Call — antenna, receiver, or board issue | Opener Repair: $120–$320 |
| Opener motor runs but door doesn’t move | Call — mechanical failure, not programming | Spring Repair: $180–$340; Cable Repair: $130–$250 |
The lightning strike scenario is worth expanding on because Virginia’s summer thunderstorms are no joke. A surge can fry the logic board’s radio receiver while leaving the motor functional — your wall button works, your remotes don’t, and no amount of reprogramming fixes it because the board can’t “hear” anymore. We’ve replaced dozens of these in Loudoun and Prince William counties after particularly violent storm seasons. The board replacement falls under our opener repair service, and we stock common LiftMaster and Chamberlain boards because we know the weather patterns here.
Similarly, if you’ve recently changed internet providers in one of Virginia’s growing fiber-optic areas — Verizon Fios expansion in Fairfax, for instance — your myQ opener may need re-enrollment to the new network. The process involves a factory reset of the WiFi module, reconnection through the myQ app, and sometimes a firmware update. It’s not hard, but it’s tedious, and a 10-minute call to Edward usually saves an hour of frustration. He’s willing to walk customers through it before ever dispatching a truck. That’s the owner-shows-up philosophy in action — sometimes the help you need is just the right voice on the phone.
Our signature line around the shop: “Tell me what it’s doing and I’ll tell you what it needs — no guesswork, no runaround.”
What Virginia’s Housing Stock Means for Your Opener
After eight years working exclusively in this market, we’ve noticed real patterns in what fails and why. Virginia’s climate swings matter — humid summers that corrode circuit board contacts, freeze-thaw cycles in winter that stress mechanical components, and the particular electrical environment of neighborhoods with mature tree cover and above-ground power lines.
The homes matter too. A 1950s Arlington brick rambler with a detached garage often has a completely different opener situation than a 2019 townhome in Potomac Yard with an attached two-car garage and myQ integration. In the older stock, we still encounter Wayne Dalton and Raynor openers from the 1990s that have been repaired three times and just keep running — testament to overbuilt American manufacturing, if not modern efficiency. In the newer construction, we’re increasingly called to integrate openers with whole-home automation systems where the garage door is just one node in a network that includes smart locks, cameras, and climate control.
Edward Campbell started this business after watching out-of-area crews roll into Northern Virginia, guess at diagnoses, and bill accordingly. He’d grown up in the trades, literally — his training came through Northern Virginia Community College’s program, where the mechanical and electrical fundamentals he learned still guide his diagnostic work. When a customer in Vienna calls with a “programming problem,” he knows to ask whether they’ve had recent electrical work, whether their neighbors’ openers are acting up too (indicating area-wide interference), and whether the issue started suddenly or gradually. Those questions come from eight years of seeing the same patterns repeat across Virginia’s neighborhoods.
Whatever brand you have — LiftMaster, Chamberlain, Genie, Craftsman, or the less common Amarr, Wayne Dalton, or Raynor integrated systems — we’ve programmed it, repaired it, or replaced it. Eight years, one specialty.
FAQs
Remote or vehicle programming is typically free if we can walk you through it by phone, which works for most standard setups. If a service call is needed due to electrical damage, failed components, or complex smart-home integration, opener repair runs $120–$320 and opener installation ranges from $250–$550. Call (844) 643-0954 for an exact quote — estimates are free.
The most common cause is exceeding the 30-second Learn button window — the receiver resets if you don’t press your remote button within that timeframe, forcing you to start over. Less commonly, you’re following instructions for a different frequency than your opener actually uses, which is why checking the Learn button color first matters so much. If you’ve tried three times with the correct procedure, the receiver board may be damaged — call us and we’ll diagnose it over the phone before deciding if a visit is needed.
Yes — for urgent situations where your vehicle is trapped or your home is unsecured, we offer same-day emergency garage door service across our Virginia service area. For straightforward programming questions, Edward Campbell often resolves them in a 5-minute phone call without any dispatch fee. When your door won’t open or close, time matters — call (844) 643-0954.
Repair is usually more economical if the issue is isolated to the receiver board, antenna, or remote — typically $120–$320. Replacement becomes the better value when the opener is over 12 years old, uses discontinued parts, or lacks modern safety features like automatic reversal and rolling-code security. We’ll give you an honest assessment of both options with actual numbers, not a sales pitch. Call (844) 643-0954 for a free evaluation.
Still Stuck? We’re Here
If you’ve worked through the color identification, the timing windows, and the brand-specific steps above and your opener still isn’t responding, there’s likely a hardware issue that needs eyes on it. Regal Garage Door Repair Virginia offers a no-pressure assessment — Edward Campbell or our small team will diagnose what’s actually wrong, explain it in plain terms, and let you decide how to proceed. No padding, no runaround. Call (844) 643-0954 or return to our home page to explore our full range of garage door services.
Written by Edward Campbell, Owner & Lead Technician at Regal Garage Door Repair Virginia, serving Virginia, VA.